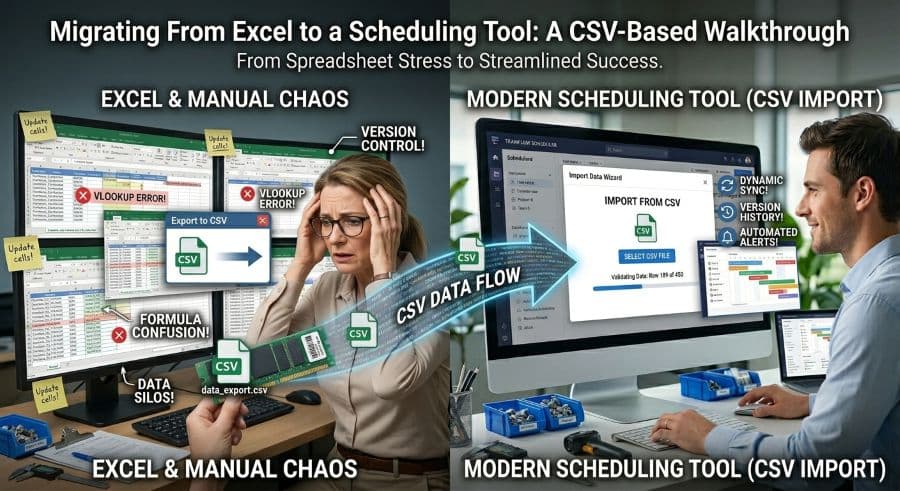
Migrating From Excel to a Scheduling Tool: A CSV-Based Walkthrough
Migration anxiety kills more scheduling software deals than price does. The reality: if your Excel schedule is workable, you can export it to CSV and import it in an afternoon.
The real reason shops stay on a spreadsheet they hate
Ask a shop owner why they're still scheduling in Excel when they openly complain about it every week, and price is rarely the honest answer. The honest answer is the move itself. They picture re-keying every open job by hand, a week of double-entry while two systems run in parallel, and the very real chance that something falls through the crack and a part ships late because of it.
That picture is wrong, and it costs shops more than the software ever would. Manual scheduling quietly drains 5–10% of revenue in a typical job shop (Qlector 2025) — $128,000 to $276,000 a year for a $2M shop. The fear of a two-week migration is keeping shops in a system that bleeds six figures annually. The math doesn't hold up.
Here's the part nobody tells you: if your Excel schedule is workable today, the move is a structured afternoon, not a project. The mechanism is a CSV file — the same plain-text export Excel has produced since the 1990s. This walkthrough covers exactly what to export, how to clean it, how to map it, and how to confirm it landed correctly before you trust it.
What you're actually migrating (and it's less than you think)
The first thing to get straight: you are not migrating "years of history." You're migrating your live schedule — the open jobs, their machines, their durations, and their due dates. That's it. Everything else is optional.
A scheduling tool cares about what's in front of you and what's coming. It does not need the 2,000 closed work orders from 2023 to do its job. You can archive that history in the same spreadsheet you've always kept, or load it later if you ever want it for reporting. Treat it as out of scope for day one and the migration shrinks to something you can finish before lunch.
For most shops, the live schedule is somewhere between 30 and 200 active or near-term job-operations. That's a few hundred rows. A few hundred rows is a CSV import, not a data project. The reason this feels enormous in your head is that you're imagining the whole filing cabinet when all you need to carry across is what's on the bench right now.
If you're still deciding whether to leave the spreadsheet at all, that's a separate question — the point where Excel scheduling actually breaks down is specific and worth understanding first. This article assumes you've made the call and you're ready to move.
Step 1: Audit the spreadsheet before you export anything
Open your scheduling workbook and answer one question honestly: is this one consistent grid, or is it five tabs that each grew their own logic?
A workable schedule is one flat table where every row means the same thing — one job on one machine, with a start, a duration, and a due date. If that's what you have, you're in good shape and Step 2 is quick. If instead you have a tab per machine, merged cells spanning a week, color-coding that carries meaning no column captures, and a "notes" column doing the work of four real fields, you have cleanup to do first. That's not a reason to abandon the move — it's a reason to do the audit before the export instead of discovering it mid-import.
Make a copy of the workbook and work in the copy. You never clean the live file. If something goes sideways, you want the original schedule untouched and still running the shop.
While you're in there, decide your cutoff. Anything already shipped and closed doesn't come across. Anything open or scheduled in the next several weeks does. Draw that line now so you're not re-deciding it row by row later.
Step 2: Flatten your schedule into one clean table
The importer wants one row per job-operation. If your spreadsheet has a separate tab for each machine, you need to consolidate those into a single sheet with a "machine" column that tells each row where it runs. This is the single most common piece of real cleanup, and it's mechanical: copy each tab's rows into one master sheet, add the machine name as a column value, repeat.
Three things break imports more than anything else, and all three are worth fixing here:
- Inconsistent machine names. "HAAS VF2," "VF-2," and "Mill 3" might all be the same machine in your head, but the importer reads them as three different resources. Pick one canonical name per machine and find-and-replace until the column is clean.
- Dates stored as text. A due date typed as
4/15is text, not a date, and won't parse reliably. Convert the whole column to a real date format — ISOYYYY-MM-DDis the safest because it's unambiguous across regions. - Mixed duration units. If some rows say "3 hrs" and others say "180" (minutes) and others say "0.5 day," the importer can't reconcile them. Pick one unit — hours is standard — and convert the column so every cell is a plain number.
Strip merged cells entirely. Merged cells are a display convenience that destroys machine-readability; un-merge everything and let each row stand on its own. By the end of this step you should have a single rectangular table with clean headers and no formatting tricks carrying hidden meaning.
Step 3: Map your columns to what the importer needs
A scheduling tool needs a small, specific set of fields. Everything else is optional metadata you can bring along or leave behind. Here's how a typical Excel schedule maps to what an importer expects:
| Your Excel column | Importer field | Required? |
|---|---|---|
| Work order / Job number | Job name or ID | Yes |
| Machine / Work center | Resource (machine) | Yes |
| Est. run time / Hours | Duration | Yes |
| Due date / Promise date | Due date | Yes |
| Start date / Scheduled start | Start (or auto-sequenced) | Recommended |
| Customer | Customer / label | Optional |
| Quantity | Qty | Optional |
| Part number | Part / notes | Optional |
| Operation / Op # | Operation step | Optional |
The four required fields are the load-bearing ones: a job needs a name, a machine to run on, a duration so the tool knows how much capacity it consumes, and a due date so the tool can flag what's at risk. If you have those four clean for every row, you have a valid import.
Start date is worth a note. If you provide it, the tool places jobs where you put them. If you leave it out, most schedulers will sequence the jobs onto each machine for you based on due date and available capacity — which is often a cleaner starting point than carrying over a sequence you built by hand under pressure. Decide which you want before you export.
Step 4: Export to CSV and run the import
With your single clean table ready, export it. In Excel, that's File → Save As → CSV UTF-8 (Comma delimited). The UTF-8 part matters: it preserves real characters and keeps accented customer names, the × in a part description, and similar punctuation from turning into garbage on the way in.
Then run the import. A well-built importer walks you through three things in order:
- Upload and preview. You drop the CSV and see the first several rows parsed into columns. This is your first sanity check — if the preview shows your machine names in the duration column, your delimiters are off and you fix it now, not after.
- Column mapping. You match each CSV column to an importer field using the table from Step 3. The four required fields must be mapped; the optional ones are your call.
- Dry run, then commit. A good importer validates the whole file before it writes anything — flagging blank required fields, unrecognized dates, and durations it can't read. Fix the flagged rows in your CSV, re-upload, and only commit once the validation comes back clean.
If your importer doesn't offer a dry run, import into a fresh or test schedule first rather than straight into a live one. You want to see the result before it becomes the schedule the floor is working from.
Step 5: Validate before you trust it
An import that "worked" is not the same as an import that's correct. Before you turn off the spreadsheet, spend fifteen minutes checking three things.
First, spot-check five jobs. Pick five rows you know cold — the hot job, the big customer, the one due Friday — and confirm each landed on the right machine with the right duration and due date. If five random checks are clean, the bulk is almost certainly clean.
Second, check machine load. Look at each machine's total scheduled hours against its real available hours. If a machine is showing 90 hours of work in a 40-hour week, you either have a genuine capacity problem the spreadsheet was hiding or a duration-unit error that survived Step 2. Either way you want to know before you commit. This is also the moment to get honest about how you actually measure machine utilization now that you can see real load instead of a flat grid.
Third, confirm nothing dropped. Compare the row count of your import against the job count in the tool. If your CSV had 142 job-operations and the schedule shows 138, four rows failed silently — usually blank required fields. Find them and re-import just those.
Once those three checks pass, the new schedule is the source of truth and the spreadsheet becomes the archive. Don't run both in parallel for two weeks. Running two schedules is how you get conflicting answers and lose trust in the new system before it's had a chance to prove itself.
You've already done the hard part
Here's what migration anxiety gets wrong: the difficult work in moving off Excel isn't the move. It's having a schedule clean enough to move in the first place — consistent machine names, real dates, honest durations. If you do Step 1 and find that work waiting for you, that's not the software's fault; it's the spreadsheet quietly telling you how much it was hiding.
If you want a head start on a clean structure, our Production Scheduling Gantt Template ($27) is built as a single flat table with exactly the columns an importer expects — so the spreadsheet you schedule in today is already shaped to move tomorrow. It's the cheapest insurance against a messy migration later. If you want to skip the spreadsheet entirely and see your jobs on a real capacity-aware board, start a free trial — no credit card, 14-day trial, and you can import your CSV on day one.
Still weighing options before you commit to a tool? The buyer's guide to production scheduling software for job shops covers the tiers and tradeoffs, and if you want the number that should anchor the whole decision, it's what manual scheduling is already costing you. The migration is an afternoon. The status quo is six figures a year. That's the actual comparison.
Ready to go beyond the guide?
Most shops are on a live Gantt board within 60 minutes of sign-up, with their existing job list imported from Excel.
Get shop floor scheduling guides in your inbox
Practical articles for production managers — no spam, unsubscribe anytime.
Related articles
Whiteboard vs. Scheduling Software: When You've Outgrown the Magnets
There's nothing wrong with a whiteboard — until there is. The point where your magnetic tag system stops working is spec…
Production Scheduling Software for Job Shops in 2026: A Buyer's Guide
The production scheduling software market spans four distinct tiers — from free spreadsheets to $50,000/yr enterprise AP…
Why Excel Scheduling Breaks Down After 20 Jobs (And What to Do Instead)
Excel can handle 5 to 20 jobs in a job shop. Past that, it becomes a liability. Here's why it breaks and what the altern…